DIY metal roof installation: Can you install a standing seam metal roof yourself?
It is great to undertake tasks yourself, especially those tasks that literally provide cover for your home. The neat lines of a standing seam metal roof make many homeowners consider, “Is this something I can do?” The answer is a qualified yes; however, do not expect to complete it in a couple of days.
This guide is meant to provide you with all the information you will need for a DIY installation of a metal roof. From roof design, material planning, tools and safety gear, to the time it will actually take you.
You will also weigh the benefits and drawbacks of this project before deciding to engage the services of a roofing contractor.
Critical Factors for DIY Metal Roof Installations
Assessing the readiness to engage in a project of this scope is crucial to ensure no steps are overlooked. DIY metal roof installations involve a considerable degree of planning, patience, and precision. Estimating the roof’s complexity, obtaining appropriate tools and safety equipment, and ensuring compliance with local building regulations are just a few of the initial steps required.
All these factors contribute to determining the viability of a DIY project, rather than assuming that a roofing contractor is a safer and more efficient alternative
Complexity of Roof Design
The design and configuration of the roof are fundamental in determining the complexity of a project. Most homeowners can handle a basic gable or shed roof, but designs that incorporate dormers, valleys, or multiple slopes present a significant challenge. Complicated roof designs increase the likelihood of errors and leaks, which is precisely the situation where experience is most crucial.
Type of Panels and Systems
Exposed fasteners and standing seam systems vary in complexity and performance. Compared to standing seam systems, exposed fasteners and snap-lock systems provide a more uniform and polished look. In addition, standing seam systems are prone to advanced tools and skill but offer the advantage of longevity. Snap systems are more friendly to beginners, while mechanically seamed systems are more closed systems of crimpers and seamers that are prone to damage and are more difficult to operate.
Planning
A well-thought-out plan will contribute to a seamless installation. Determine how you will traverse the roof, how the panels will run in the specified direction, and how you will initiate the fastening process. Even a slight misalignment in the beginning can disrupt the entire layout. Materials should be arranged in the order of use, and measurements should be checked repeatedly.
Estimating Materials
Irritating clients and losing money can be avoided through carefully estimating your materials. Panel lengths, fasteners, trim pieces, and clips must be calculated to determine the required materials. Ordering more than necessary can be useful in the event of cut waste. Planning well at this stage will avoid delays during installation.
Tools and Equipment
To install a standing seam metal roof, you need more than just a hammer and some nails. Drills, snips, ladders, cutting tools, and perhaps seamers of some type are needed. Tools and equipment specific to roof installations can be rented or purchased, just be sure you know how to use them properly and safely before beginning your project.
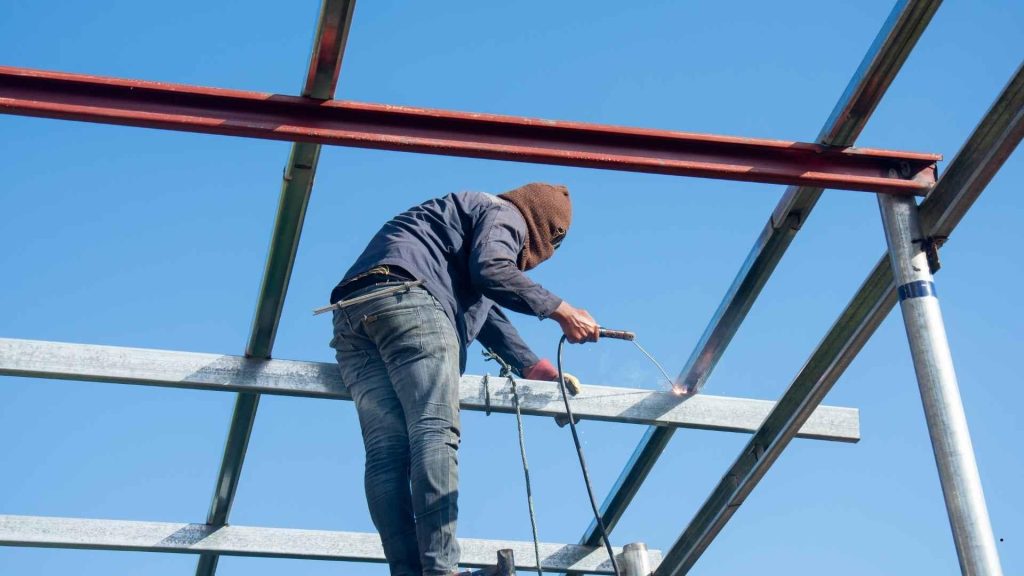
Safety Considerations
There are risks involved with working on a roof. Use appropriate roofing safety equipment such as harnesses, lifelines, gloves, non-slip footwear, and a helmet. Avoid working in the rain or in strong wind conditions. Loose tools and debris should be removed from your work area. Safety should be your first concern, not speed, as a single misstep can result in injury.
Time Commitment
Installing a metal roof is not a job which can be completed quickly. Even professionals with full crews require several days to do the work on a home. For a solo homeowner, the time commitment to do the installation can stretch into weeks. Be realistic with your plans as you will need to account for delays in work due to weather and the learning curve. Be patient, as rushing will result in mistakes which can be expensive to fix.
Tools & Safety Gear Required
Safety and productivity in your DIY metal roof installation greatly depend on the gear and tools you have on hand. Please ensure that all the preparations on the ground are done and in good order before you go anywhere near the roof.
Essential Tools:
* Power drill with extra batteries
* Metal cutting snips or shears
* Measuring tape and chalk line
* Screw gun with magnetic bits
* Utility knife and straightedge
* Ladder or scaffolding system
* Seamers and crimpers (for standing seam panels)
* Caulking gun for sealants
* Square and level for alignment checks
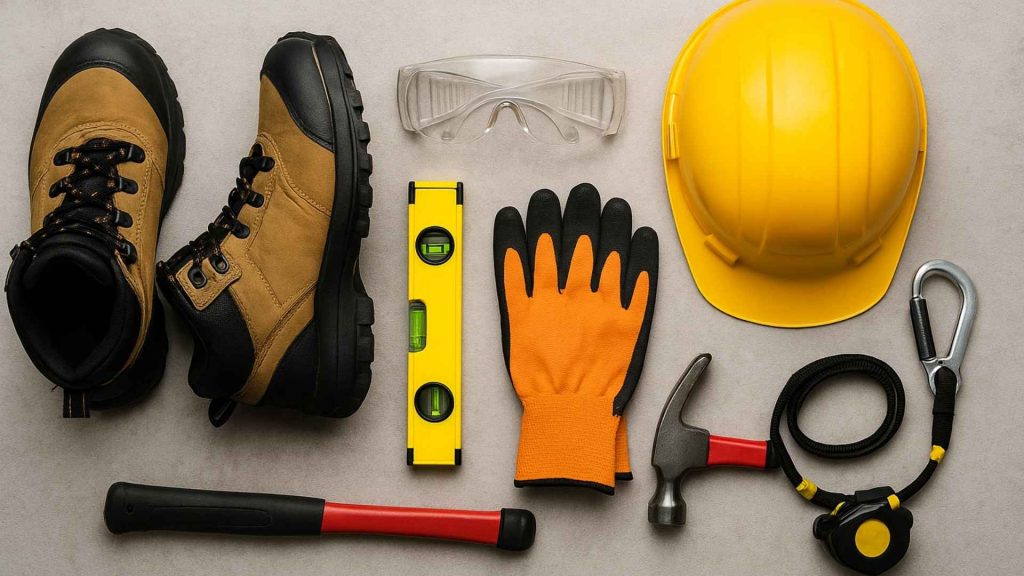
Safety Gear (PPE):
* Roof harness and lifeline system
* Roof anchors rated for your weight
* Non-slip roofing boots
* Hard hat and safety glasses
* Heavy-duty work gloves
* Knee pads for comfort during long hours
* High-visibility vest (if working with others)
Rugged equipment, well-fitted safety gear, and dependable tools are what make your roofing project effective, safe, and free from potential injuries. Be proactive and test each gear, and check your ladders, anchors, and ropes for wear before your project.
Steps to Install a Metal Roof
Installing metal roofing requires a great deal of dedication, forethought, and care. To make certain that your DIY metal roof installation is solid, waterproof, and durable, you should proceed as follows.
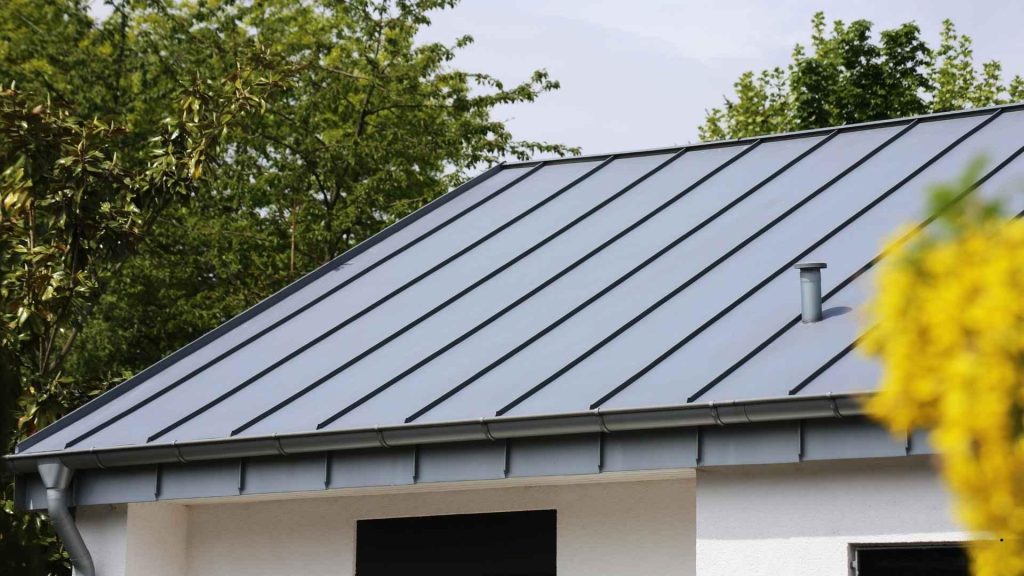
Selecting Which Metal to Roof With
First, consider which panel system, be it standing seam, corrugated, or ribbed, you’ll be using. Your budget, roof pitch, and preferred aesthetic should guide your choice. Standing seam panels offer remarkable durability and have a wonderful clean look, which makes them a great option.
Assessing and Preparing Your Roof
Evaluate your roof for leaks, damage, or soft spots. If necessary, tear off old shingles and replace any damaged rotting decking. A clean, even surface will help ensure that your panels are aligned properly, which will help to avoid leaks in the future.
Permits Legally Required and Following the Law
Prior to beginning any work, you should consult your local building codes. In many areas, even for residential roofing, permits are required. Obtaining permits and passing inspections minimizes the likelihood of legal issues and ensures your project will be compliant for safety.
Measuring and Planning Your Layout
Using a measuring tape and a chalk line, lay out your panels. Your measurements for the valleys, ridges, and the overhangs should be checked and confirmed for accuracy at least twice. Proper planning of the layout will ensure that you have minimal waste and that the time required for installation is reduced considerably.
Installation of Underlayment and Drip Edge
Apply waterproof underlayment uniformly over the decking to prevent moisture penetration. Affix drip edges to the eaves and rake edges to direct water away from the roof and to avoid leaks at the seams.
Installing Metal Roofing Panels
Install the panels in an ascending order while overlapping as per the installation instructions. Before fastening each panel, ensure that each one is aligned straight as every panel contributes to the straightness of the roofline. Avoid any rush to mitigate the risk of creating gaps.
Attaching Panels
To fasten the panels, use screws which are corrosion protected and won’t be able to damage any part of the panel. Ensure that there is equal spacing as this will contribute to the professional installation appearance.
Trims, Flashing and the Last Seals
To waterproof vulnerable areas of the roof and prevent any damage, use the then add ridge caps, trims and seal the roof. In order to clean the gaps and provide an incontestable appearance to the roof. For any areas that could leak, add sealant to that area.
Final Inspection for Quality
Carefully walk the roof while examining for any gaps, missing or loose screws or flashing. Inspect the sealed areas to check for any part that could leak and compromise the structure. The installation will provide the roof long lasting structure and safety.
Issued Maintenance
After installation, the roof should be clean and all joints examined for any loose screws, debris, and check for any overt sealing that could compromise the panels. In the autumn of every year, clean and inspect the roof, trim branches that could fall, and provide preventive maintenance for the panels. Check the flashing and gutters. This will ensure the panels perform efficiently for the intended years.
Pros and Cons of DIY Metal Roof Installation
Advantages and Disadvantages of DIY Metal Roof Installations
It is wise to take a look at all the advantages and disadvantages before doing a DIY metal roof installation. Understanding all these factors makes the decision easier to understand.
Advantages
Not having to pay for labor makes the DIY option very appealing. You customize the choice of materials, the schedule for the roof, and the design down to the smallest detail. There is also a satisfaction of constructing something that adds energy efficiency and value to your home. Completing a DIY project will also add to your construction experience.
Disadvantages
A DIY metal roof installation takes a lot of time, energy, and accuracy. Mistakes that go unchecked on a roof will usually lead to serious repairs, safety hazards, and expensive leaks. Some warranties will not be honored if the roof installation is not completed by a professional. For roofs that have a steep or complex design, the cost of hiring a professional is usually justified.
Energy Efficiency and Environmental Benefits
⦁ Metal roofs help lower energy costs by reflecting the sun and keeping homes cool.
⦁ They are eco-friendly roofs as metal roofs are made from recyclable materials.
⦁ Well-built metal roofs will keep homes comfortable throughout the year as the metal roof adds insulation.
⦁ Creating a metal roof yourself minimizes waste due to efficient control over how much material to use.
⦁ Summarily, roofing with metal continues to be a high-performance option that promotes a sustainable lifestyle.
Bottom Line: Should You DIY Install Your Metal Roof?
In theory, a custom metal roof can be installed personally, which is certainly cost effective, but this requires large amounts of time, great skill, and exacting detail.
This is most appropriate to those homeowners who have previous DIY construction experience, and appropriate personal safety apparatus.
In situations with large and intricately constructed roofs, which need to be done in shorter timeframes, engaging a professional roofing contractor will be the best and safest option.
There will be a need to be concerned with local building code and the durability of the structure over time.
Ultimately, the most appropriate option will be determined by your level of confidence, your level of planning, and the size of the task at hand.